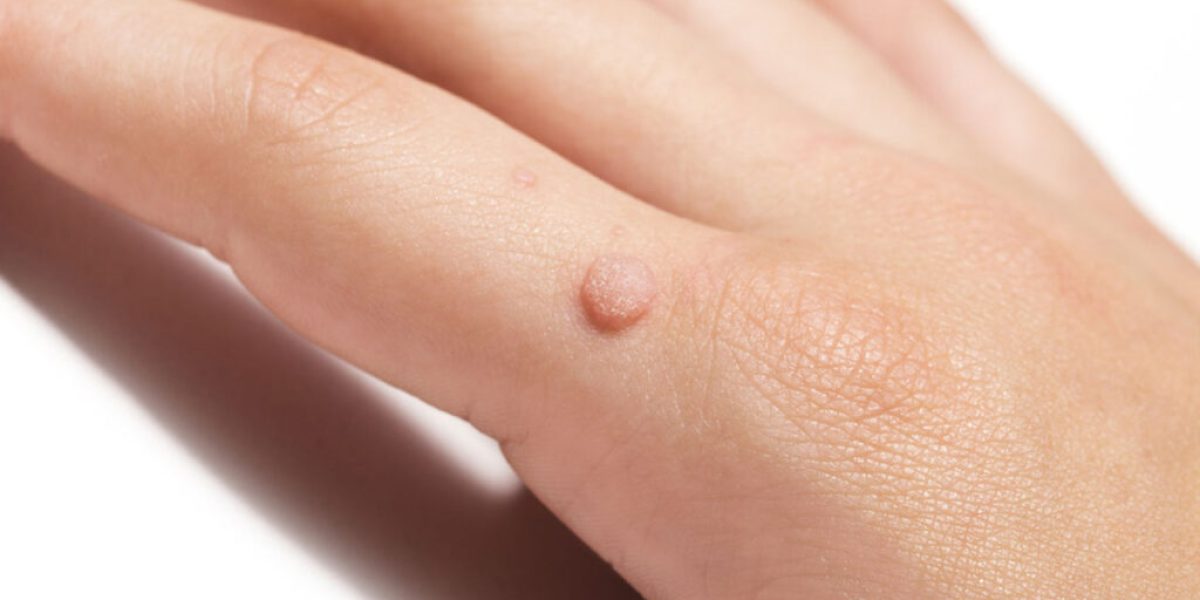
Warts are common skin growths caused by a viral infection, typically the human papillomavirus (HPV). While warts are generally harmless, many individuals seek to remove them for cosmetic reasons or to avoid discomfort. One effective and widely recommended treatment is the use of salicylic acid. This article will guide you through the steps to remove warts at home with salicylic acid, providing a simple and effective solution.
What is Salicylic Acid?
How does salicylic acid help remove warts (كيف يساعد حمض الساليسيليك في إزالة الثآليل), Salicylic acid is a beta hydroxy acid (BHA) commonly used in over-the-counter treatments for various skin conditions, including acne, corns, calluses, and warts. It works by gradually breaking down the layers of skin, effectively loosening the wart and allowing it to fall off over time. Salicylic acid is available in different forms, such as gels, liquids, and pads, which makes it easy to incorporate into a wart-removal routine.
Step 1: Prepare Your Skin
Before applying salicylic acid to the wart, it’s important to prepare the skin properly to ensure the treatment is effective. Start by soaking the affected area in warm water for about 10 to 15 minutes. This softens the skin and helps the acid penetrate the wart more effectively. If you are treating a wart on your feet, this step is especially helpful to soften any thickened skin that may have formed around the wart.
Step 2: Clean and Dry the Area
After soaking, gently scrub the wart with a pumice stone or emery board to remove the outer layer of skin. This helps the salicylic acid work more efficiently. Be sure to clean the area thoroughly with soap and water to remove any dirt or debris. Dry the skin completely with a clean towel before proceeding to the next step. Moisture can reduce the effectiveness of the acid, so it’s important that the area is completely dry.
Step 3: Apply the Salicylic Acid
Once the wart is prepared, apply the salicylic acid product directly onto the wart. If you are using a liquid or gel, use the applicator provided, or apply a small amount using a cotton swab. For pads, simply press the pad directly onto the wart and allow it to adhere. Ensure that the wart is completely covered with the acid. Be careful to avoid the surrounding healthy skin, as salicylic acid can cause irritation.
Step 4: Cover the Wart
After applying the salicylic acid, it’s beneficial to cover the wart with a bandage or adhesive patch. This not only protects the area but also helps to keep the acid in place and prevent it from rubbing off. The bandage helps create a more occlusive environment, promoting the breakdown of the wart over time. It’s recommended to leave the bandage on for several hours or overnight, depending on the instructions provided with the product.
Step 5: Repeat the Process
Salicylic acid treatment requires consistency for the best results. Repeat the process daily, ensuring that you follow the instructions on your specific product. Over time, the wart will begin to shrink and peel away. It may take several weeks of daily treatment to completely remove the wart, so patience is key. Avoid picking or scratching the wart during this period, as doing so can lead to further irritation or potential spreading of the virus.
Step 6: Monitor the Wart’s Progress
Keep an eye on the wart’s condition as you continue the treatment. You may notice that the wart changes color, shrinks, or starts to flake off. This is a good sign that the salicylic acid is working. However, if the wart doesn’t seem to improve after several weeks, or if it becomes painful or inflamed, it may be time to seek an alternative treatment option or reevaluate the use of salicylic acid.
Step 7: Aftercare and Prevention
Once the wart has been successfully removed, it’s important to continue caring for the skin to prevent future warts or skin damage. Keep the area clean and moisturized to help the skin heal. Additionally, it’s wise to take steps to prevent the spread of the virus that causes warts. Avoid touching or scratching the wart, wash your hands regularly, and refrain from sharing personal items, such as towels or shoes, to reduce the risk of infection.
Conclusion:
Salicylic acid is a highly effective and accessible method for wart removal. By following these easy steps and remaining consistent with your treatment, you can successfully remove warts at home. Remember to be patient and gentle with your skin to avoid irritation, and always follow the product instructions for optimal results.


